
Ultimate Guide to Preparing Walls for Interior Painting
Introduction
Are you ready to transform your walls with a fresh coat of paint? If so, you're in luck! This ultimate guide, specially made by Integrity Painting of New Braunfels, will show you how to prepare your walls for interior painting like a pro.
From assessing and cleaning to patching and priming, we'll cover everything you need to know to get the job done right.
Get ready for a fantastic transformation - your walls will look better!
Assessing Your Walls
Before you begin painting, assessing your walls to understand their condition is important.
Start by looking for any signs of peeling or bubbling paint. If you find any, scrape away loose pieces and sand down rough patches. Next, check the walls for holes or cracks that need patching. Use spackle to fill them up and let them dry before sanding them smooth with fine-grit sandpaper. After the surface has been cleaned and prepared, use a moist cloth to wipe away any remaining dust before applying primer.
Inspect the walls for any nail pops or protruding nails that need hammering back into place so your paint job looks flawless when complete.
Removing Old Wallpaper
Removing old wallpaper can be tricky, so taking the proper steps is essential. Before you begin, ensure you have all the necessary tools and materials: a putty knife, a sponge, a bucket of warm water, wallpaper stripper solution, and drop cloths.
Use the putty knife to loosen any edges or seams of the wallpaper. Work slowly and carefully so as not to damage your walls. Once you've separated as much of the wallpaper as possible, use your sponge to wet it with warm water. This will help dissolve some adhesive used on the back of the wallpaper.
Then, apply your wallpaper stripping solution with a spray bottle or paintbrush. Allow it to sit for 15-20 minutes before attempting to remove more of the paper from your walls.
Finally, use your putty knife to scrape off any leftover pieces and discard them into an appropriate trash receptacle covered with drop cloths for easy cleanup afterward.
With these steps in mind and patience, removing old wallpaper is doable!
Cleaning and Sanding
Once the old wallpaper is removed, you must clean and sand the walls before painting.
To start, use a vacuum cleaner or brush to remove any remaining pieces of wallpaper from the wall's surface. After that, apply spackle to any holes or cracks and wait 24 hours for it to dry. Then, wet down the area and scrub it with a stiff-bristled brush. Rinse off the surface with warm water and let it dry completely.
Now it's time for sanding! Use 120-grit sandpaper to lightly smooth out any rough patches on the wall's surface. You can also use a power sander if you prefer - just be sure not to press too hard, as this can cause damage to your walls. Use a moist cloth to wipe away any dust residue that may have remained after you've finished sanding. Also, scrutinize your work before applying primer or paint directly to your freshly cleaned and sanded walls!
With these steps completed correctly, your walls will be perfectly prepped for whatever interior painting project awaits them!
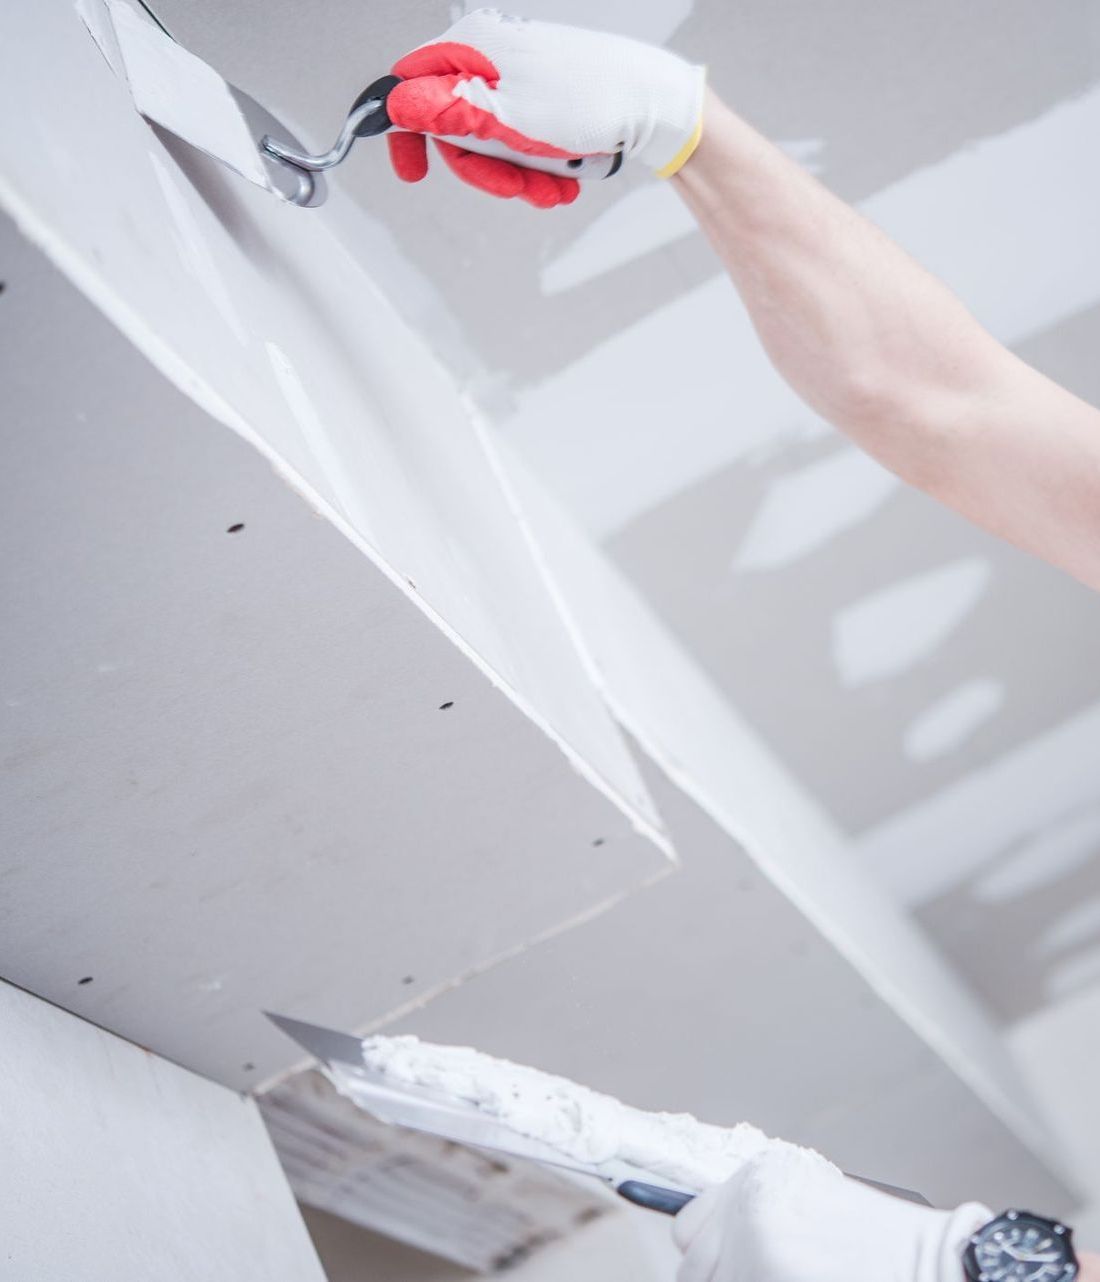
Patching and Priming
Now that the walls are clean and sanded, it's time to patch any holes or cracks and prime them before painting. Patching is relatively easy. Fill in the hole with spackling paste or drywall compound. Use a putty knife to smooth the product until it's flush with the wall. Let it dry completely, then lightly sand it down until you can no longer see any patch remnants. If your walls have larger cracks or crevices, use mesh tape first, then cover them with compound.
Priming comes next for best results and should always be done before painting. When utilizing primer instead of merely paint alone, the paint adheres better to surfaces and has a smoother finish. Primer comes in different types for every type of paint, namely oil-based, latex, epoxy, and conversion primer (1).
Before applying primer, ensure all patches are correctly filled in and sanded so they won't show through after completing the painting. Apply primer by rolling it onto the walls in long strokes from top to bottom until all visible areas are covered evenly.
Applying a Sealer
After priming, applying a sealer before painting is essential to help protect the walls and ensure long-lasting results. Sealers are designed to block stains from penetrating the wall and act as an additional layer of protection between the primer and paint.
To apply sealer, use a brush or roller to spread it evenly across the primed wall. Make sure to cover all edges carefully so there are no gaps where moisture or other elements could penetrate. Remember to get in the corners and around trim pieces if you're using a brush.
Before beginning your painting process, give the sealer plenty of time to dry completely. The type of sealer you should use will depend on what paint you plan to apply - some paints require specific sealers, while others do not. Read the instructions on your paint's label carefully before purchasing a sealer.
Once you've applied a coat of sealer, let it dry thoroughly before continuing with your interior painting project. This may take several hours, depending on humidity levels and the temperature in your home.
Doing this extra step will keep your interior walls great for years!
Conclusion
Ultimately, if you take your time and don't rush through any steps, you'll have a fresh coat of paint that looks great for years. With this ultimate guide, you'll be an expert in no time!
But what if you've already encountered painting mishaps? Don't worry – there's always a way to fix them! From blotches and streaks to uneven coverage, common painting mistakes can be prevented and rectified. And if you find yourself in need of expert assistance, Integrity Painting of New Braunfels is here to help.
Integrity Painting of New Braunfels is ready to provide quality services for your interior painting project! Let us bring your vision to life with meticulous attention to detail and a commitment to excellence. Elevate your surroundings today; choose Integrity Painting for a result that speaks volumes!
Elevate your space with Integrity House Painting! Learn more about our
interior painting services in New Braunfels.
References:
(1) https://www.houselogic.com/remodel/painting-lighting/paint-sheen-guide/