
The Dos and Don'ts of DIY Interior Painting Projects
Introduction
Painting is a timeless activity that can transform any space. However, it's more complex than picking up a brush and getting to work. Before you embark on your DIY interior painting project, you should know some dos and don'ts.
From choosing the right paint and tools to applying the perfect finish, follow these tips to ensure your project turns out right.
Preparing the Room
Before you start painting, it's essential to ensure the room is prepped correctly. First and foremost, take the time to remove as much furniture from the room as possible. This will help keep your items clean and prevent them from splashing with paint.
Once all furniture is out of the way, cleaning both walls and floors thoroughly is a good idea. Vacuum any cobwebs or dust away, and wash down the walls if needed. Consider covering any remaining furniture with plastic sheeting for extra protection, too.
Also, ensure all holes are filled in before you start painting. Use spackle to fill in holes or cracks in your wall; this can help create an even surface for your paint job.
Choosing the Right Paint
Selecting the right paint is critical when it comes to home renovations. There are five significant types of wall paints and finishes, namely flat or matte, eggshell, satin, semi-gloss, and high-gloss, each containing distinctive characteristics (1).
With the wide variety of finishes, colors, and formulas available on the market today, you need to make sure that you choose a paint that fits your project's needs.
Here are some tips on what to look for:
- Quality: Make sure to purchase higher-quality paints to ensure long-lasting results.
- Finish: Consider whether you'd like a flat, eggshell, semi-gloss, or high gloss finish, depending on your desired result.
- VOC Content: Low VOC content can help minimize fumes released while painting.
- Coverage: Opt for paint with good coverage and opacity so that you don't have to apply two coats of paint or more!
- Price: Don't let price be the only factor in deciding which type of paint to use; it's still important to consider all other aspects.
Above all else, ensure that whatever type of paint you select works best for your DIY interior project!
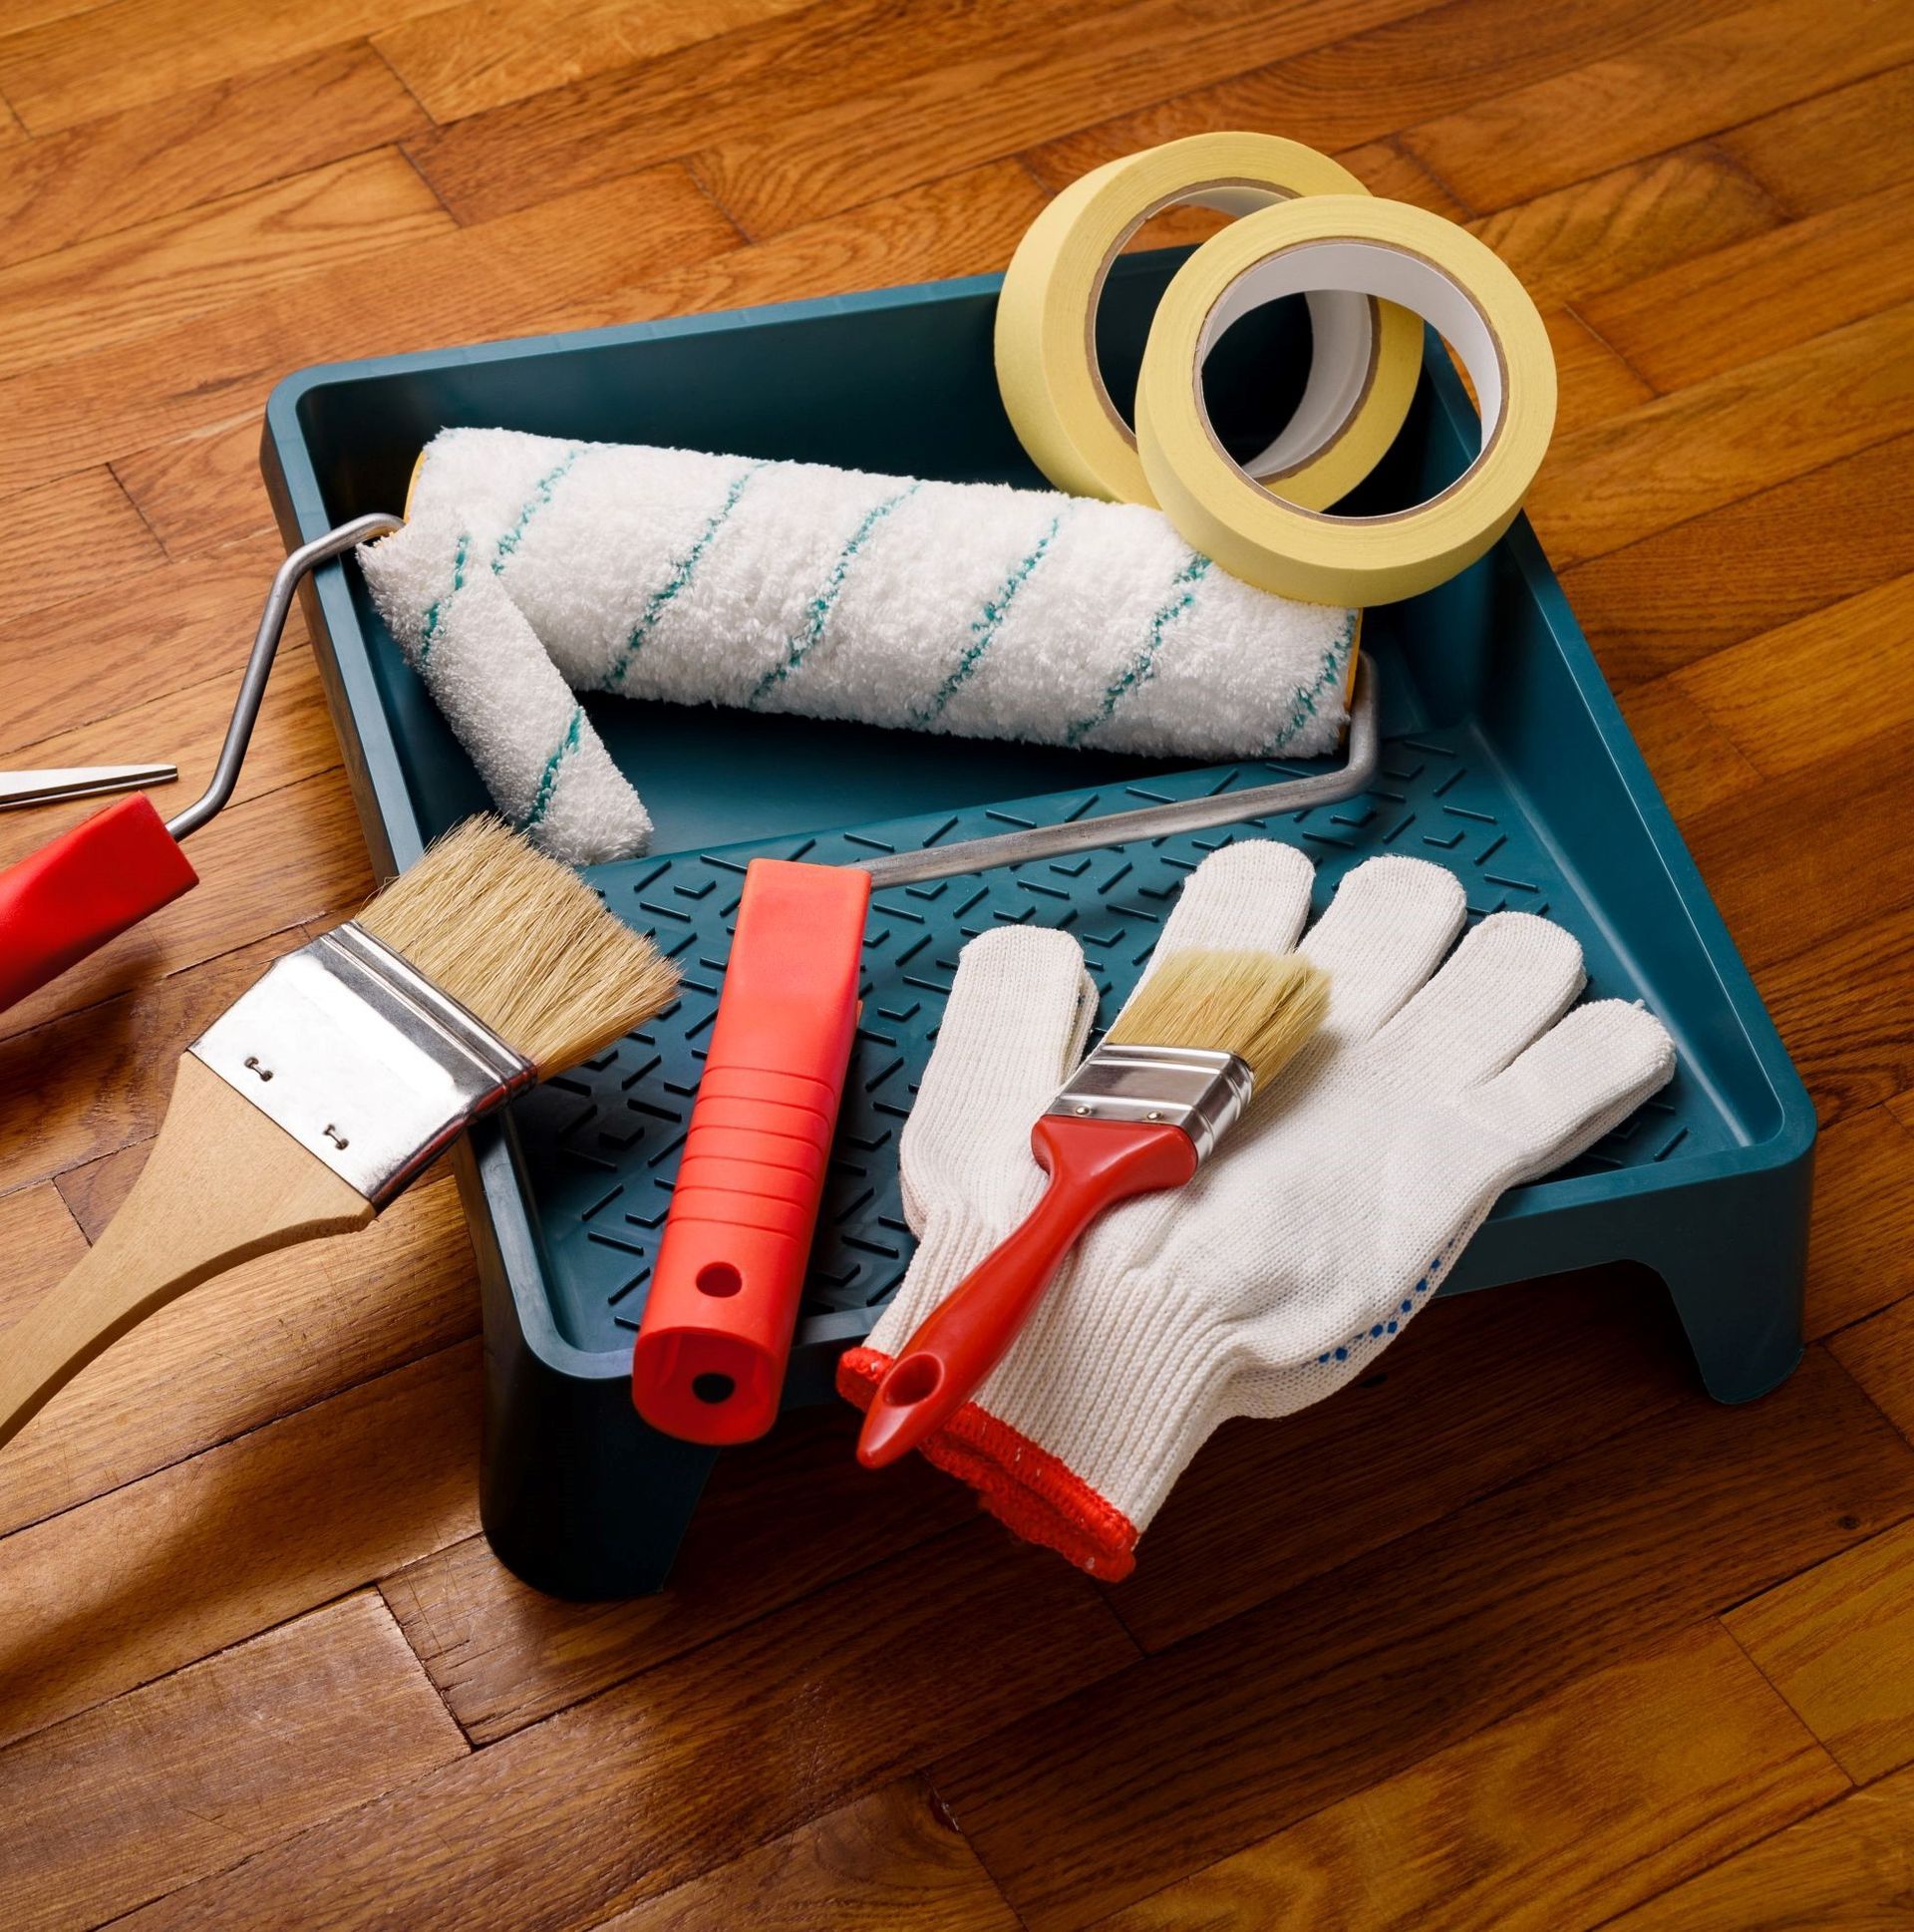
Selecting the Right Tools
Having the appropriate tools is important for successful painting results. Picking the right roller and brush to apply your paint will save time, frustration, and money in the long run.
A medium-sized roller with a three-eighths-inch nap is great for most interior wall surfaces; if you're painting textured walls, opt for a thicker nap, like five-eighths of an inch. Brushes come in all sizes, but a two or three-inch angled brush works well on trim and corners.
Remember painter's tape, which can help you achieve clean lines while avoiding messes. You'll also need drop cloths, a ladder or step stool if needed, and something to mix your paint in - it's best to avoid plastic buckets since they can retain odors from other chemicals.
Finally, ensure you have enough paint cans open at once to keep the color consistent throughout each room. With these basics covered, you can confidently tackle any DIY painting project!
Applying the Paint
Once you have the right supplies, it's time to start applying the paint. It's important to take your time with this step and not rush it. Ensure you use a quality roller that won't leave any lint or fuzz behind.
If you're using a brush, choose one made with natural fibers for the best results. Put on gloves and safety glasses before beginning to protect yourself from possible splatters and spills.
When dipping your brush into the paint, don't overload it, as this can cause drips and runs. Instead, apply several thin coats of paint rather than one thick coat so that everything looks even when dry. Use light strokes when painting corners and edges for a professional finish.
Lastly, clean up by disposing of any brushes or rollers appropriate to local regulations. With patience and care during this step, you can achieve beautiful results!
Finishing Touches
Now that you've applied the paint, it's time to add those finishing touches! You should take a few extra steps to ensure your DIY interior painting project looks professional.
If you're painting a wall with trim or other details, use painter's tape to protect them. This will give clean lines and keep the trim from accidentally getting painted over.
Once you've taped off any areas needing protection, touch-ups are in order. Look closely where walls meet the ceiling and floors, and fill in any gaps with a brush or roller as needed.
You can also go back with a small brush and cover up any drips or streaks of paint for a smooth finish.
Conclusion
You've done it! You took the plunge and decided to tackle a DIY interior painting project. Now that you've finished, you can look back on all of the dos and don'ts that you followed - or didn't follow - with pride.
Even though your walls may not be perfect, they are unique and show your creativity. Who would have thought that something as simple as paint could make such a huge difference? After all, if we learned anything from this experience, irony can work in mysterious ways!
If you need professional assistance, contact Integrity Painting of New Braunfels directly! Our skilled team brings life to your spaces with precision, artistry, and
innovative techniques. Transform your home or business today—schedule your consultation for a vibrant, long-lasting paint finish that radiates excellence!
Ready to refresh your home's ambiance? Explore how our
interior painting service can bring new life to your walls.
References:
(1) https://www.masterclass.com/articles/different-types-of-wall-paint-and-finishes